
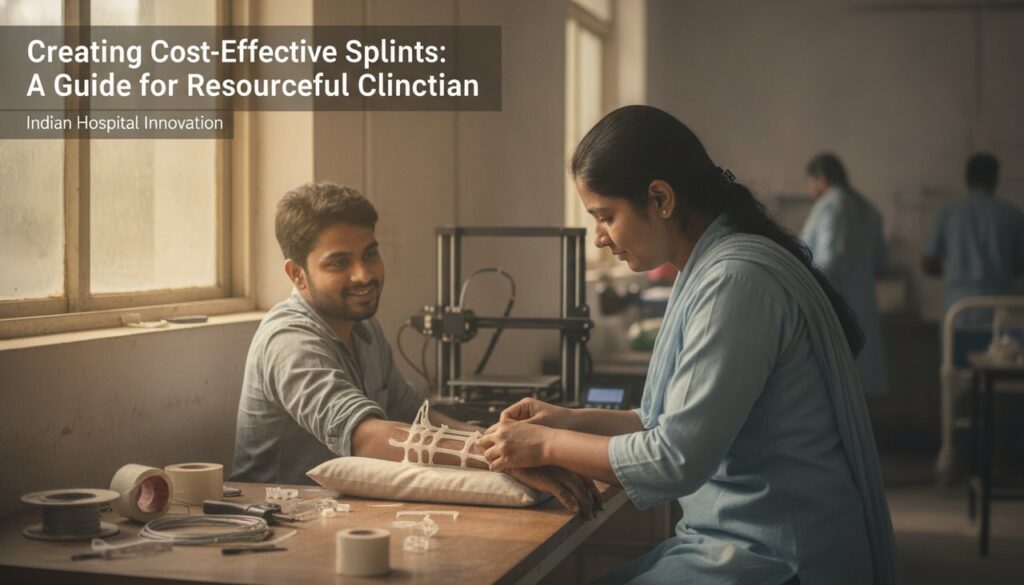
Creating Cost-Effective Splints: A Guide for the Resourceful Clinician
Your patient is wheeled into the emergency department with a fractured forearm. The X-rays confirm it: a clean break, but your hospital’s inventory is low on premium splinting materials. You’re faced with a decision that has become all too familiar to clinicians in resource-constrained settings. How do you provide effective care without compromising on quality, while staying within budget?
Plaster vs. Fiberglass: The Battle of Cost and Convenience
The debate between using plaster and fiberglass for splinting isn’t just academic; it’s a daily reality in Indian hospitals. Plaster, with its low cost and high moldability, seems an obvious choice. A 30 cm strip costs approximately ₹85, making it accessible and affordable. However, it’s messy, takes longer to dry, and can be heavy for the patient. Fiberglass, on the other hand, is lighter, cures faster, and is stronger, but costs about ₹133 for the same length. The choice often depends on what’s available and the specific needs of the patient.
In a setting where every rupee counts, the trade-off between cost and convenience is not just a choice, but a necessity.
The Submersion Technique: A Crucial Step
While the choice of material is important, how you prepare it can significantly affect the outcome. The submersion technique for wetting the splinting material is paramount. It ensures even saturation, leading to a stronger and more reliable splint. To execute this, immerse the splint material fully in room-temperature water, apply gentle squeezes to saturate, and then remove excess water with a final squeeze. This method is more consistent than running water, which can result in uneven wetting and compromised splint integrity.
Layering: The Secret to Stability
Once wetted, the application process is critical. Start with a cotton stockinette to protect the skin. Next, apply generous padding, paying extra attention to bony prominences such as the olecranon and medial malleoli to avoid pressure sores. The wetted splint material comes next, followed by an elastic bandage to secure everything in place. This sequence is not merely procedural, it’s essential to the splint’s effectiveness.
Innovative Alternatives: Thinking Beyond the Norm
In resource-poor settings, innovation is often born from necessity. Consider using C-splints, made from pre-formed aluminum, for complex or irregular injuries. These are particularly useful for finger fractures or dislocations and can be a lifesaver when traditional materials are scarce. They are not only cost-effective but also allow for rapid application and easy customization.
Moreover, consider leveraging local resources for splint materials. Woodcast, a biodegradable thermoplastic polymer combined with wood chips, offers a sustainable and locally adaptable option. Though not as strong as fiberglass, it is less expensive and easier to source, making it an attractive alternative in low-cost settings.
Neurovascular Monitoring: A Non-Negotiable Practice
After a splint is applied, neurovascular checks are crucial. Ensure that fingertips and toes are exposed to allow easy assessment of capillary refill, sensation, and motor function. This step is vital to confirm that the splint is neither too tight nor compromising blood flow or nerve function. Educate the patient on signs of increased pain, numbness, or discoloration, and instruct them to seek immediate attention if these occur. A well-informed patient is often your best ally in ensuring successful treatment outcomes.
Adapting to Local Needs: A Path Forward
In India, where the healthcare landscape is often defined by limited resources, the ability to improvise is invaluable. Encouraging local manufacturing of splinting materials can drastically reduce costs and improve accessibility. Simple, locally sourced materials can be transformed into effective splints with the right training and approach.
Programs like those offered by MICE Labs emphasize the importance of cost-effective prototyping and resourcefulness in Indian hospitals. Such initiatives can empower clinicians to move from simply managing constraints to actively solving them, leading to better patient outcomes and more efficient healthcare delivery.
Conclusion: The Role of the Clinician-Innovator
The art of splinting in resource-constrained settings is more than just a clinical procedure; it’s an exercise in innovation and adaptability. By understanding the nuances of material choices, mastering application techniques, and embracing local solutions, clinicians can provide top-notch care without breaking the bank. The real skill lies in balancing these factors effectively, ensuring that patients receive the best possible care, irrespective of the limitations faced.
Ultimately, the role of the clinician-innovator is to bridge the gap between available resources and optimal patient care. By embracing this role, clinicians can transform challenges into opportunities, ensuring that quality care is accessible to all, regardless of circumstance.