
Cracking the Sterility Puzzle: Real-World Solutions for Safe Device Prototyping
In the dim glow of the ward’s night lights, a junior resident fumbles with a prototype device, wondering if their design is sterile enough to even test. It’s not just a question of cleanliness; it’s the silent dread of contamination that lurks behind every innovative attempt. But here’s the hard truth: the sterility bar isn’t as high as you might fear, and with the right approach, you can meet it without a clean room or hefty budget.
The Myth of Immaculate Sterility
Many believe that achieving sterility in device prototyping is a luxury reserved for well-funded labs. This assumption is not only misleading but also paralyzing for innovators working in resource-constrained settings. While sterility standards are non-negotiable when it comes to patient safety, the path to achieving them doesn’t have to be paved with gold.
Real innovation begins when you realize you don’t need a million-dollar lab to create a sterile medical device prototype.
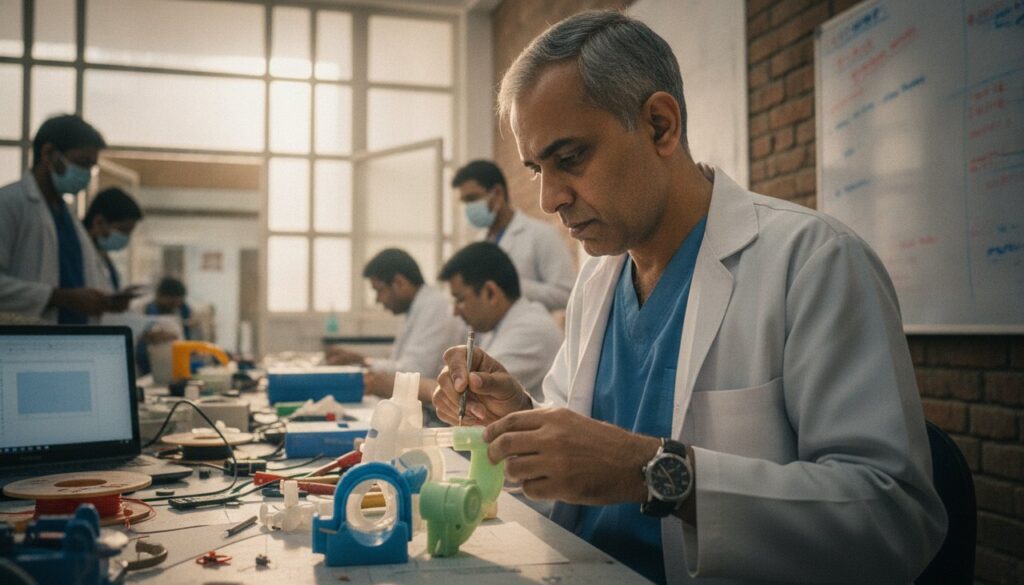
Take, for example, the story of a group of med-tech innovators in a government hospital in Mumbai. They managed to prototype a sterile device using everyday materials found in their environment. The key was understanding the specific sterility requirements of their device and finding ways to meet them creatively.
Step 1: Define Your Sterility Needs
Before you begin, clarify what level of sterility your prototype actually requires. Not every device needs to be packaged like a surgical implant. Ask yourself: Is it intended for internal use or external contact? Will it be in direct contact with blood or sterile tissues? Define the risk and plan accordingly.
In most cases, aiming for a sterile barrier system that prevents microbial ingress during storage and handling might suffice. This can be achieved with careful selection of materials and processes that suit your prototype’s intended use.
Step 2: Choose Materials Wisely
If you’re working with a new material, consider alternatives that meet sterility requirements without busting your budget. For instance, instead of relying on costly, unavailable polymers, explore local options like copolyesters. These can be thermoformed and are often more robust than traditional materials.
Opt for materials that are easily sterilizable and won’t introduce contaminants. This is particularly critical if your device involves any fluid path or is intended for use in sterile fields.
Step 3: Develop a DIY Sterilization Protocol
For prototyping, you don’t need a high-end autoclave. Many innovators have successfully used pressure cookers to achieve steam sterilization. Alternatively, chemical sterilants like ethylene oxide or hydrogen peroxide can be effective if used cautiously and with proper ventilation.
Remember, the goal is to reduce the bioburden to acceptable levels for your specific application. This might involve multiple cycles or combining methods to ensure effectiveness.
Step 4: Build Your Own Clean Workspace
You don’t need a full clean room to maintain a sterile environment. A clean, dust-free corner of a room can be transformed into a makeshift clean space. Use simple measures like sticky mats, air purifiers, and dedicated work attire to reduce contamination.
Focus on maintaining a positive pressure environment with minimal airflow disruption. This can be as simple as using a plastic tent setup with controlled air entry.
Step 5: Validate Through Testing
Once your prototype is assembled, validate its sterility through rigorous testing. This doesn’t necessarily mean outsourcing to an expensive lab. With guidance, you can perform basic microbial challenge tests or consult local university labs for affordable testing solutions.
Validation is not just a regulatory tick box but a confidence boost for your design. A well-documented validation process helps when navigating regulatory pathways and can make audits smoother.
Validation isn’t a hurdle; it’s the checkpoint that assures you your innovation is safe and ready for the next step.
Reframe the Sterility Challenge
At its core, achieving sterility in device prototyping is about reframing the challenge from a barrier to an enabler. By understanding the specific sterility needs of your project, selecting the right materials, and employing creative solutions to sterilize and validate your design, you can navigate this puzzle with confidence.
Scrappy innovations often come from necessity, and those who dare to rethink the sterility challenge are the ones who turn bedside problems into bedside solutions. The path to innovation is rarely linear, but with the right mindset, it is always within reach.
FAQs
What are the common mistakes in achieving sterilization for prototypes?
Common mistakes include overestimating the sterility requirements, using inappropriate materials, and neglecting validation processes. Many also overlook the effectiveness of simple sterilization methods due to lack of awareness.
Can basic sterilization methods be reliable?
Yes, basic methods like steam sterilization using pressure cookers or chemical sterilization can be reliable if executed correctly. The key is understanding the method’s limitations and ensuring thorough execution.
How can I ensure my DIY sterilization is effective?
Effectiveness can be ensured by validating the process with microbial challenge tests, keeping detailed records, and consulting with experts when necessary. It’s also important to combine methods and cycles to ensure thorough sterilization.
For more insights on affordable sterility solutions, visit our article “Making It Work: Innovating Affordable Sterility Solutions Beyond the Clean Room”.