
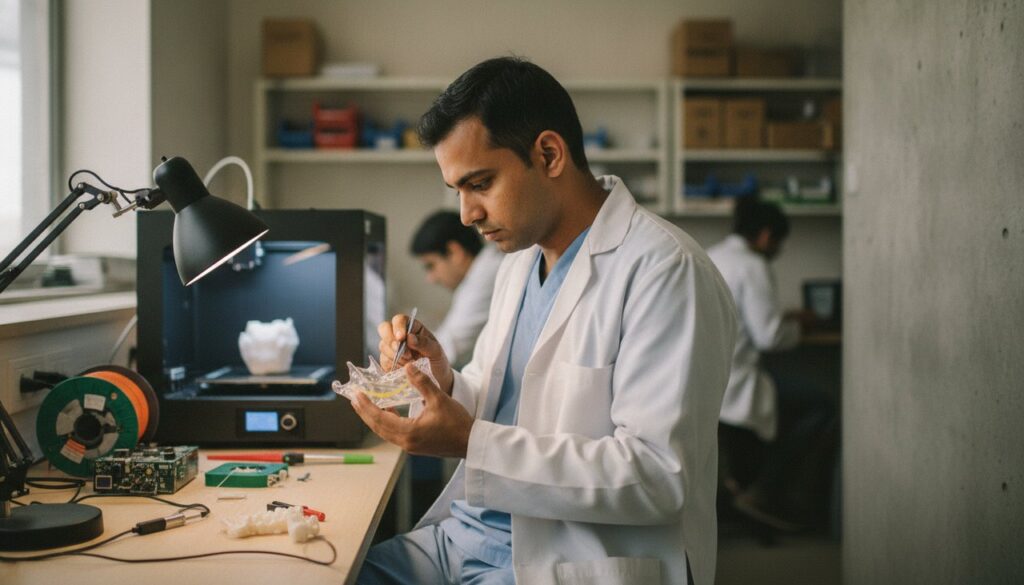
3D Printing for the Clinician: Simple Steps to Start This Week
Picture this: you’re in a bustling ward at a government hospital in India. The air is thick with urgency, and the need for innovation is palpable. Patients require custom-fit prosthetics, precise surgical guides, and personalized medical devices, but the resources are limited, and traditional manufacturing timelines are too slow. Enter 3D printing, a technology that promises to cut through these barriers like a scalpel through silk.
The reality of 3D printing is both exhilarating and daunting for clinicians who are new to it. You might be asking yourself: “Can I really make this work without an engineering degree or a big budget?” The answer is a resounding yes. You don’t need a fancy lab or a grant to start printing solutions to the problems you see every day. What you need is a clear path, one that you can start on this week. Let’s get into the practical steps that will take you from concept to creation.
The First Layer: Understanding the Basics
Before you dive into the technicalities, it’s important to understand what 3D printing can actually do for you in a clinical setting. In essence, 3D printing, or additive manufacturing, allows you to create three-dimensional objects layer by layer from a digital file. This means you can produce custom medical devices tailored to specific patient needs, something that traditional manufacturing cannot offer at the same speed or cost.
3D printing allows you to create patient-specific medical devices in hours instead of weeks, and often at a fraction of the cost.
Start small. Begin with a project that addresses a specific problem you’ve identified in your practice. For instance, creating cost-effective splints or surgical guides. You can find more detailed guidance on such projects here.
Step 1: Identify and Define the Problem
Every innovation journey starts with a problem. What is the pressing need in your ward? Is it the lack of affordable prosthetics, or perhaps the need for better surgical tools? Defining the problem clearly is half the battle won. Be specific. Instead of saying, “We need better surgical tools,” say, “We need a surgical guide for knee replacement that reduces operation time by 20%.”
Once you have a clear problem statement, you’re ready to move to the next step: ideation.
Step 2: Ideation and Conceptualization
This is where your clinical expertise comes into play. Think creatively about the potential solutions. Sketch them out. Consult with colleagues. Discuss and iterate. The goal is to visualize a practical solution that addresses the specific needs you’ve identified.
Remember, your first idea doesn’t have to be perfect. It has to be doable. Use accessible materials like paper and pencil, or digital tools if you’re comfortable, to sketch your ideas. You can also explore existing projects for inspiration, such as building simple diagnostic enhancements, which are detailed here.
Step 3: Prototyping with 3D Printing
With a concept in hand, it’s time to prototype. This is where 3D printing shines. You don’t need a state-of-the-art 3D printer to get started. A basic desktop 3D printer is often enough for prototyping. In India, you can get a reliable 3D printer for as low as INR 20,000-30,000.
- Choose Your Printer: For medical applications, SLA printers offer high resolution and precision, which are crucial for detailed medical devices.
- Select the Material: Depending on your project, choose from a variety of materials. For instance, use biocompatible resin for surgical guides.
- Create the Digital Model: Use CAD software to create a digital model of your device. Open-source software like TinkerCAD or Fusion 360 can be a good starting point.
- Print the Prototype: Once your design is ready, print it. This may take a few hours to a day, based on the complexity of your design.
For a detailed guide on using basic 3D printing to innovate personal medical tools, check out this resource.
Step 4: Testing and Iteration
Your first print is unlikely to be perfect. That’s okay. Testing and iteration are key components of the design process. Assess the prototype rigorously. Does it meet the clinical needs you set out to address? Gather feedback from colleagues and, where possible, patients.
Refine your design based on this feedback and repeat the prototyping process. It might take several iterations to get it right, but each iteration brings you closer to a viable solution.
Step 5: Navigating Regulatory Pathways
The final, and often intimidating, step is navigating the regulatory requirements. In India, medical devices are regulated by the Central Drugs Standard Control Organization (CDSCO). While this might seem daunting, it’s crucial for ensuring safety and efficacy.
Start by determining whether your device falls under the regulatory purview. If it does, you will need to follow a specific approval process. Engage with regulatory experts if possible, and consult available resources to understand the requirements for your specific device.
Understanding and complying with regulatory requirements is not just a legal obligation; it’s a commitment to patient safety and innovation credibility.
Overcoming the Real Costs
The cost of inaction is a silent burden in many clinics. Every delay in innovating a solution is a patient not receiving optimal care, a surgeon facing unnecessary complications, a clinician struggling with outdated tools. The discomfort of confronting these costs is real, but so is the power of change through innovation.
3D printing offers a way to cut through these challenges. It empowers clinicians to take charge, create solutions tailored to their specific contexts, and improve patient outcomes. The path to innovation is not without hurdles, but each step taken is a step towards a more efficient, effective, and patient-centered healthcare environment.
So, start this week. Identify, ideate, prototype, test, iterate, and navigate. The journey from ward weariness to workflow wins is within your reach, and you can find practical steps to support your innovation journey here. The cost of not doing so is far greater than the discomfort of starting.